Photography Basics: Tips for Beginners
Originally published on PassionPassport.com
Maybe you love scrolling through your Instagram feed and seeing incredible shots from photographers around the world. Maybe you took the leap and purchased a camera to play around with. Maybe you just need a nudge to get started.
No matter the reason why you’re drawn to photography, relish being a beginner. It allows you to try new things and have fun while doing it.
That said, there are a few tips all novice photographers can benefit from.
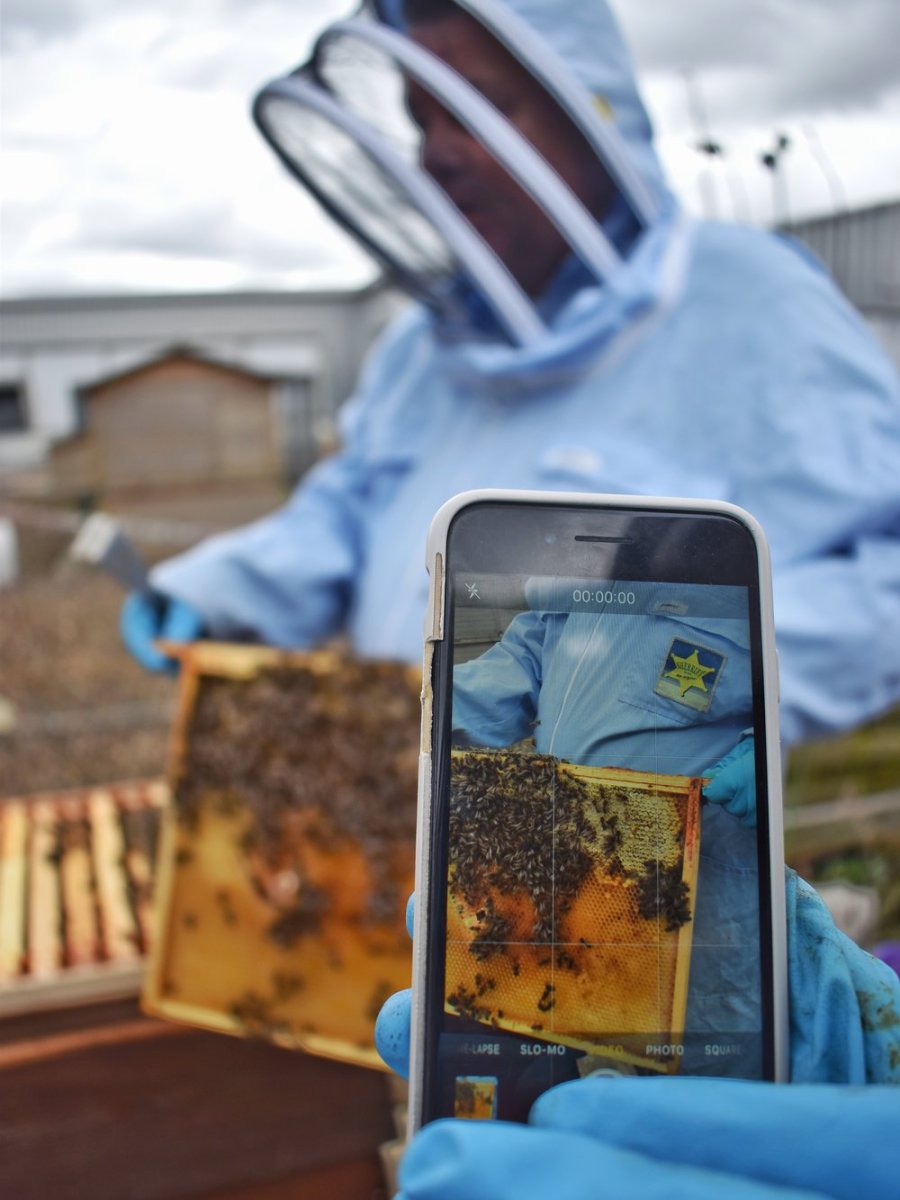
First of all, don’t worry about what type of camera you have. For the purposes of getting started, any camera is a good camera. Yes, even a smartphone. Just make sure that you always have your camera with you, that way you can always take advantage of photographic opportunities.
Next, stick with your camera’s automatic mode. Wait until you’ve learned the ins and outs of ISO, aperture, and shutter speed to start manipulating different settings. There’s absolutely nothing wrong with shooting on auto.
While you’re teaching yourself about the “rules” and components of photography, experiment. Read up on a topic, and then head out and about to try your hand at it.
As you develop your skills, you’ll discover more and more about composition and framing. The first thing to learn is about photo orientation — whether you take a vertical (long) or horizontal (wide) photo. When choosing how to hold your camera, simply think about the subject matter at hand and choose the format that suits it best. For example, if you’re photographing a boulevard of tall palm trees, go with vertical orientation. But, if you’re photographing a wide landscape, stick with horizontal. When it’s not as obvious, consider your subject matter and any movement within the frame, and cater the orientation to that. For example, portraits can be either vertical or horizontal, and usually depends on the relationship between the subject and their surroundings.
To learn more about composition, check out our guide on the Rule of Thirds.
Another thing to remember is that it’s alright if your photos aren’t perfectly straight when you take them. There’s a reason photographers edit their photos after the fact, and rotating a photo is easy. But if you’re prone to shaky hands, consider investing in a tripod. Or, alternatively, search for a stable surface to set your camera on while photographing.
Unless you’re using an old film camera, remember that you can take as many shots as you want. Use this to your advantage. If you’re not sure about photo orientation, take both a horizontal and a vertical shot. Photograph multiple angles and perspectives of the same subject, and choose which one you like best after the fact. All you need is a large memory card!
Finally, photograph whatever you’re drawn to. Maybe you like focusing on the night sky, dogs, or cityscapes. Maybe you like shooting architecture or interior design. Whatever it is, lean into it! Remember that the ordinary can be extraordinary.
Key takeaways:
Any camera is a good camera — just make sure to keep it with you.
Stick with the automatic setting.
Learn by experimenting.
Know when horizontal shots are better than vertical, and vice versa.
When in doubt, take multiple shots.
Photograph whatever you’re drawn to.
Thumbnail image from Unsplash.


